|
|
The Nutty Professor: 2006 Jul 5 (Wed), 15:56
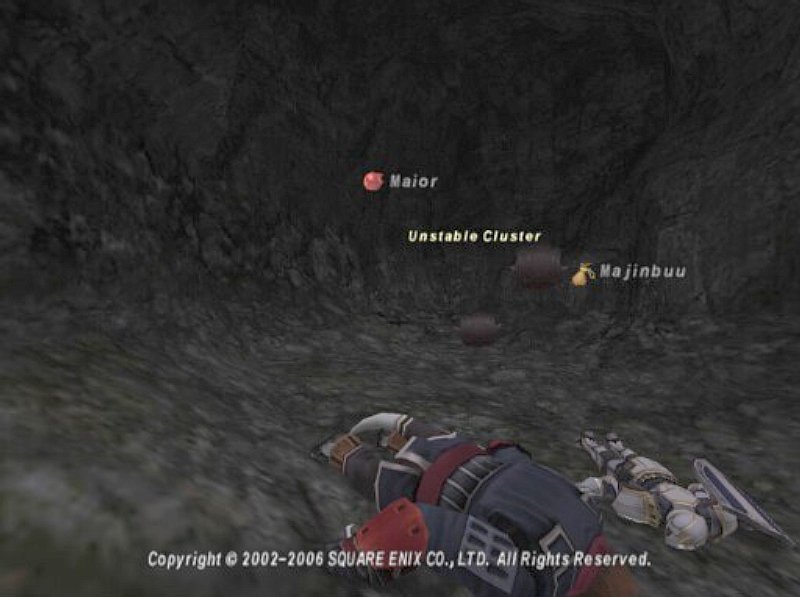
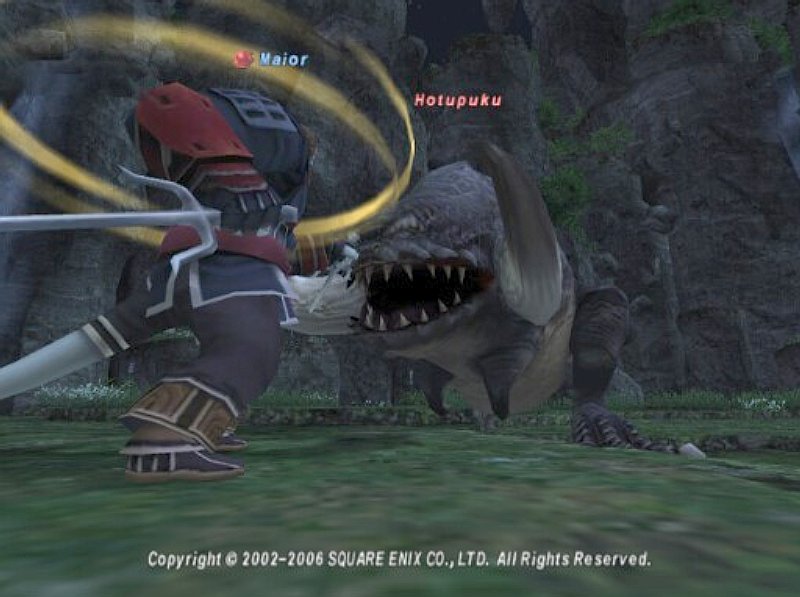
Went back to Riverne Site #B01 to get Tam through the boss battle there. While we were there, we decided to attempt an NM fight for a drop for Dragonlance. We had to fight Nitro Clusters for some Cluster Tar so we can spawn this NM deep inside a cave. After getting the Tar, we went back to spawn Unstable Cluster, which was the NM we needed. Unfortunately, we wiped and the cluster wandered back to his spawn point to despawn. After the boss battle, we tried the ENM Bugard in the Clouds wherein we fought Hotupuku which was a bugard-type mob that did Hundred Fists and Invicible. We got the damned thing down to less than 5% life, but his Hundred Fists wound up finishing us off. Alas...
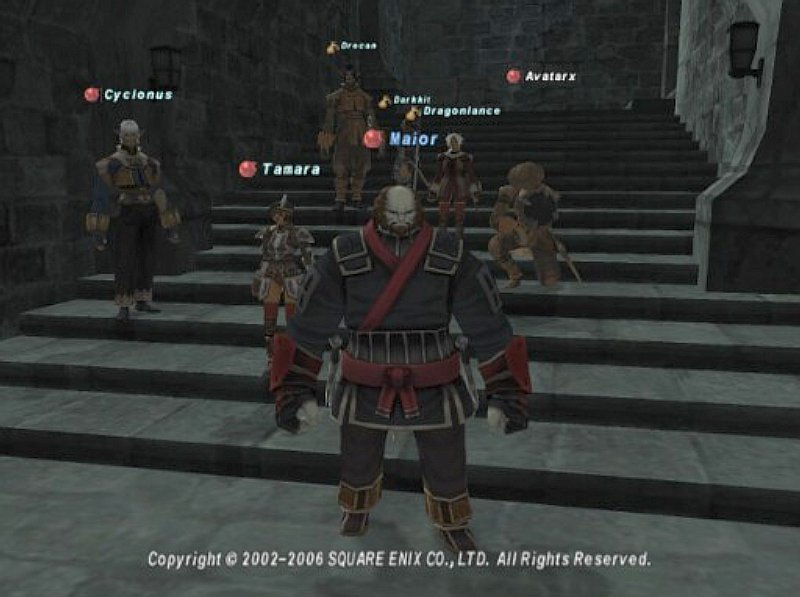
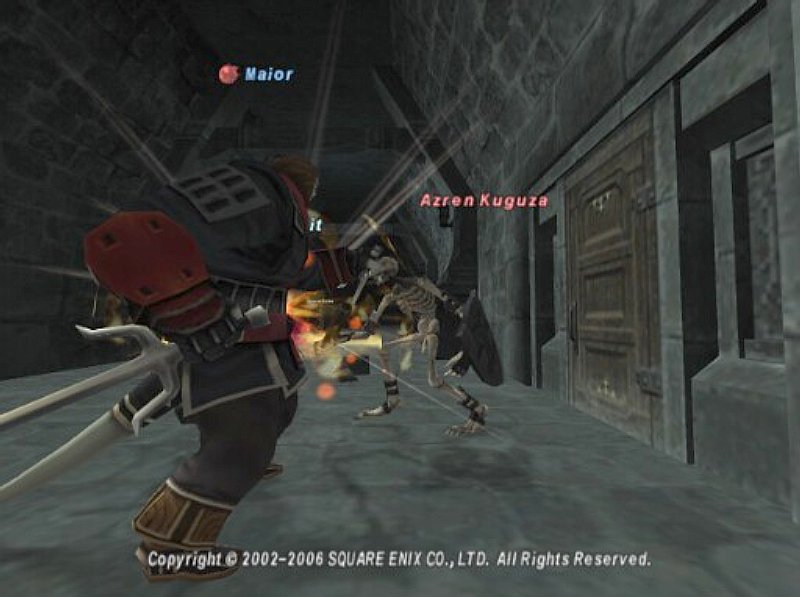
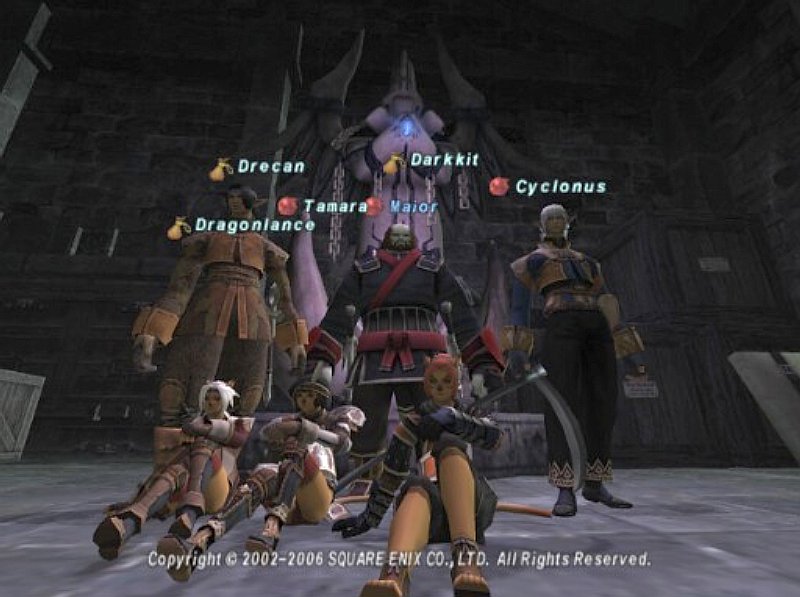
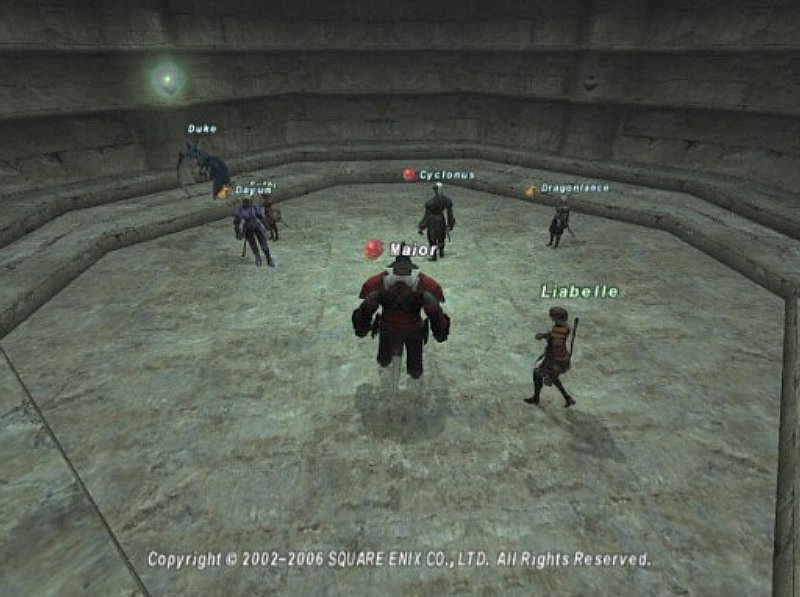
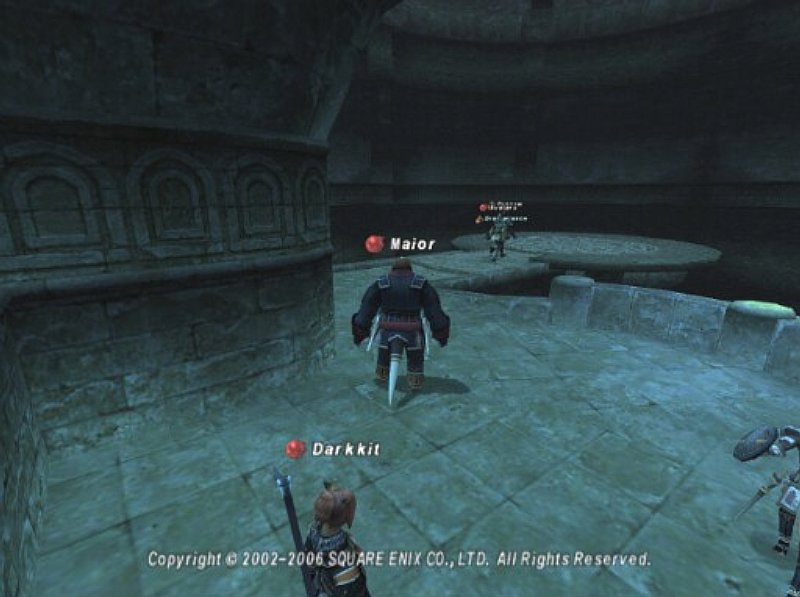
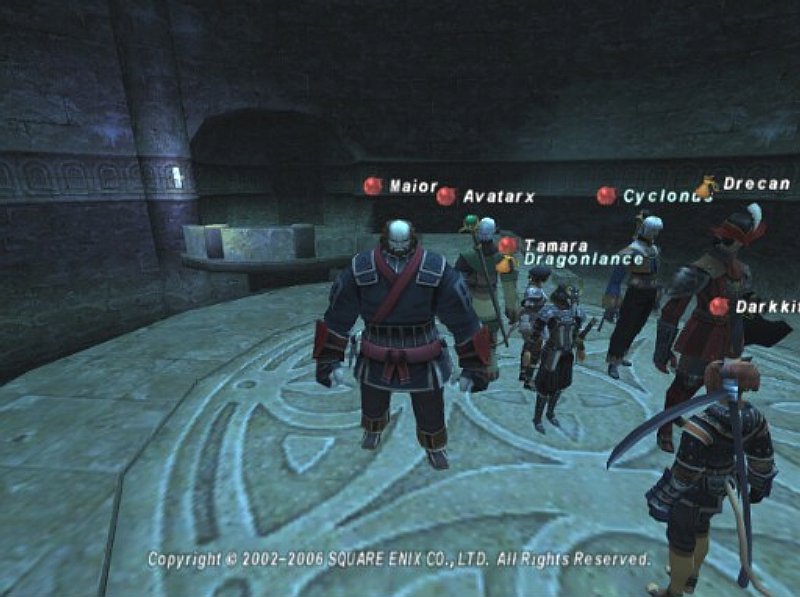
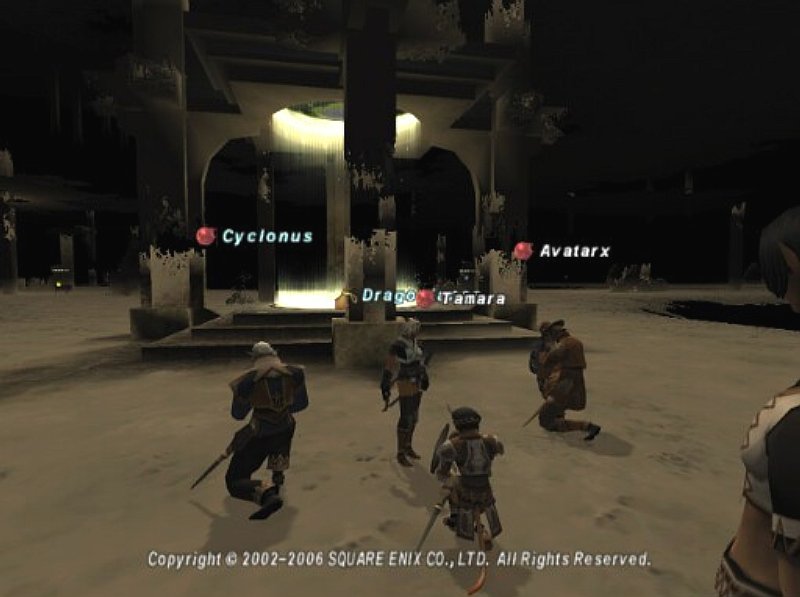
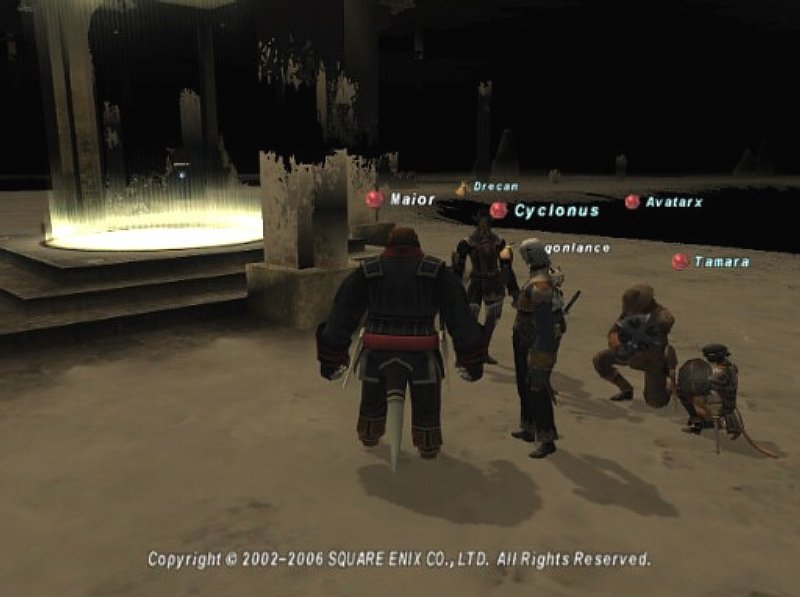
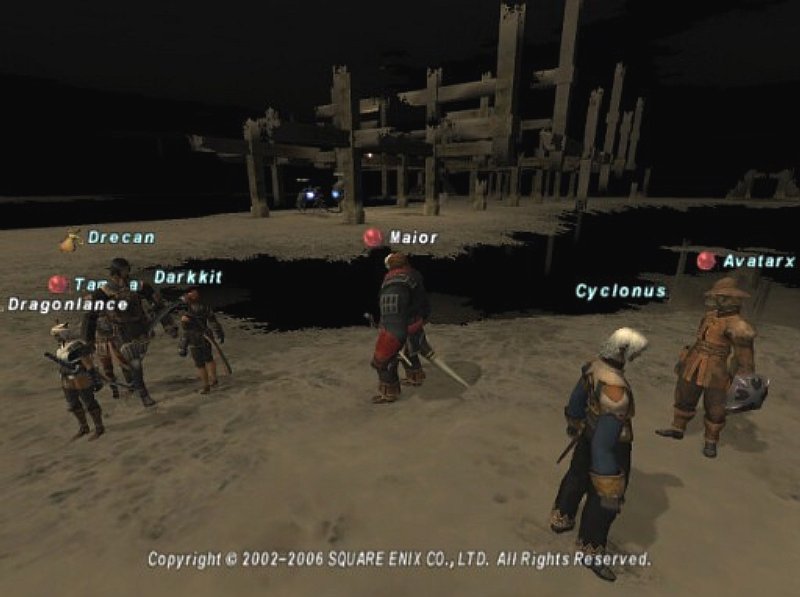
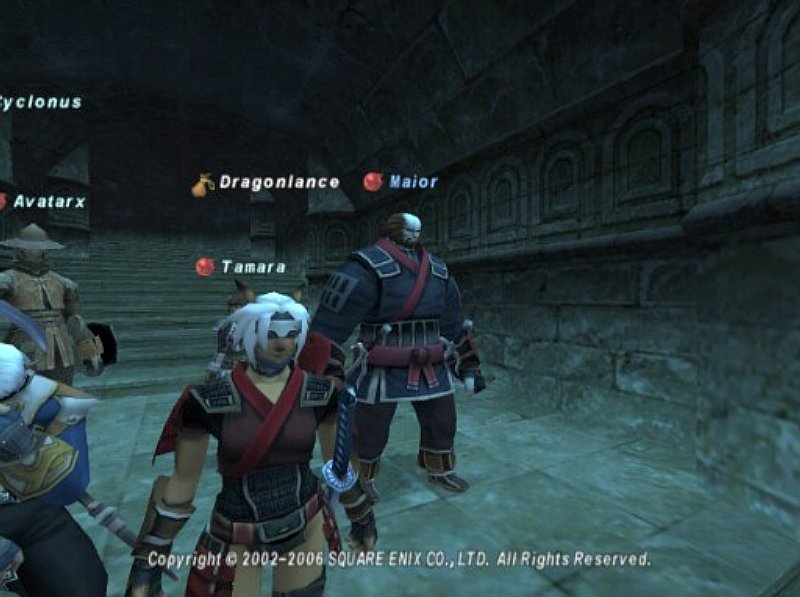
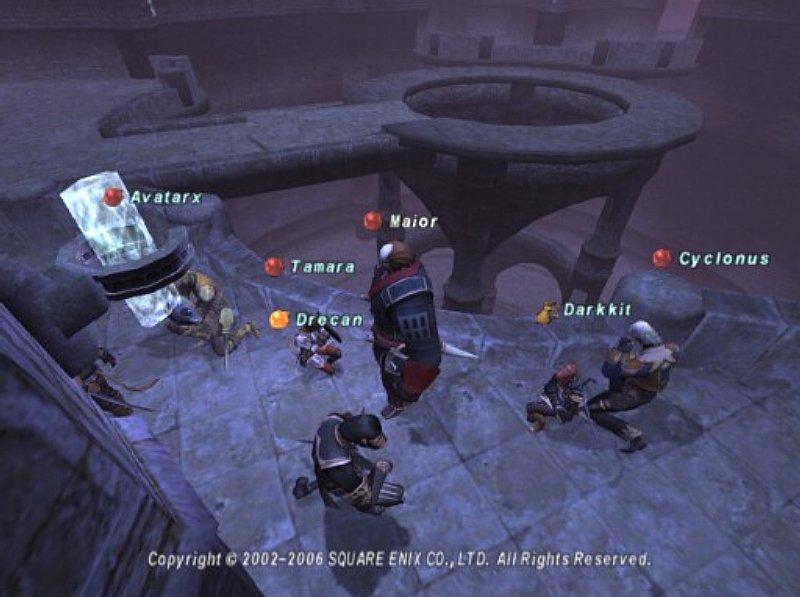
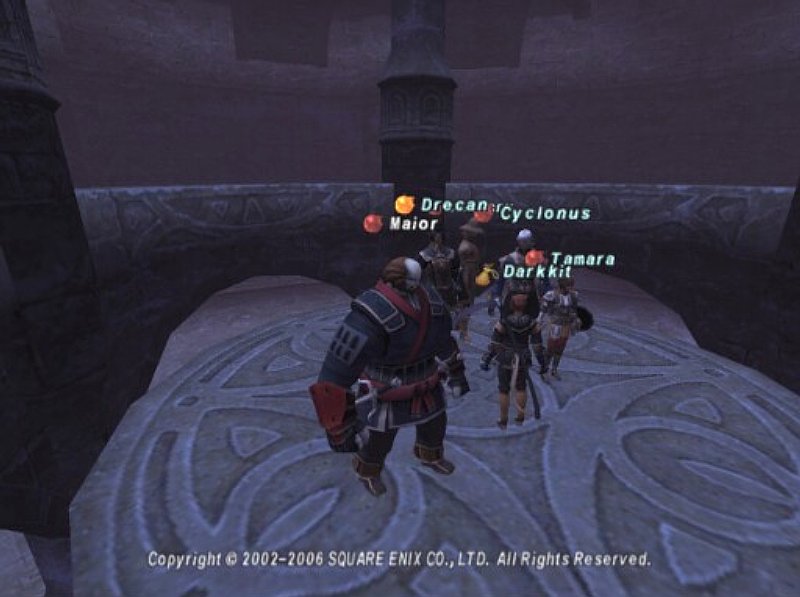
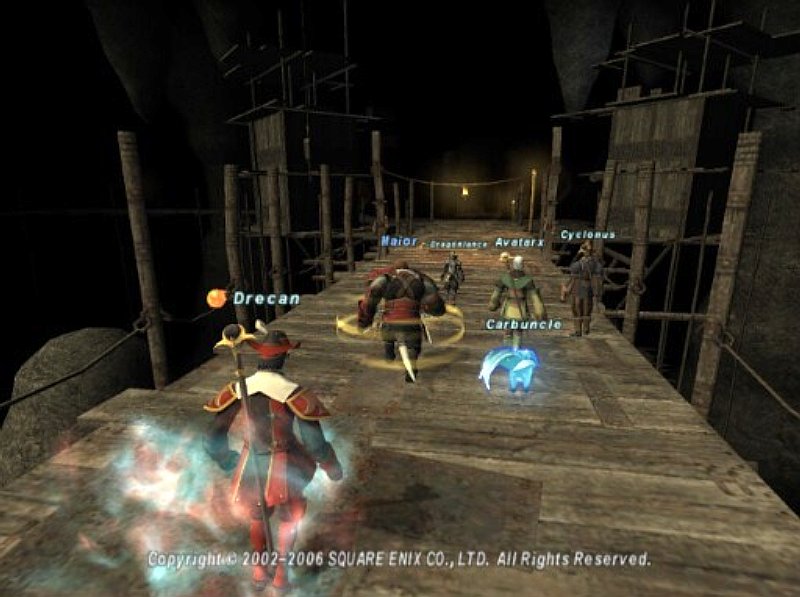
Pretty soon, we were doing CoP 4-3: Secrets of Worship. Here's is our static gathered together at the zona. Lovely bunch, no? We rant through the area, avoiding everything, until we got to the bones hall. Now, if you don't know what the bones hall is, allow me to explain.
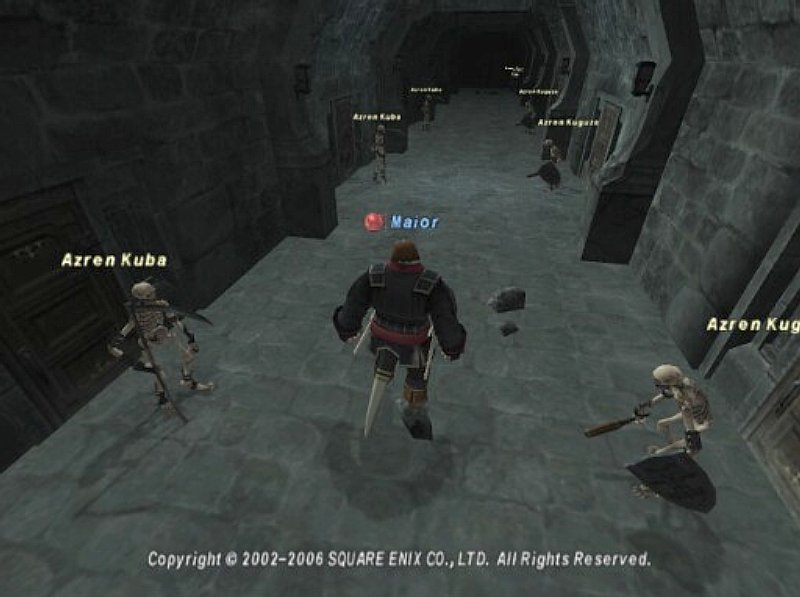
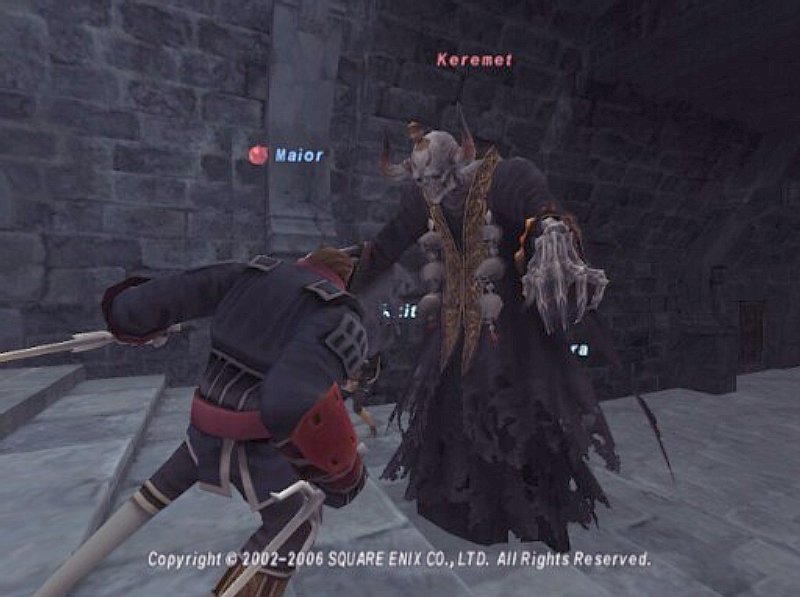
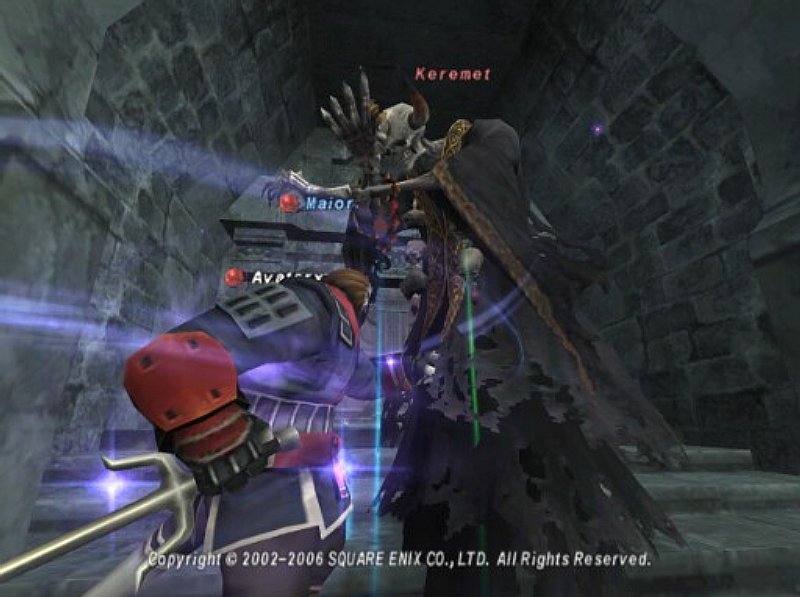
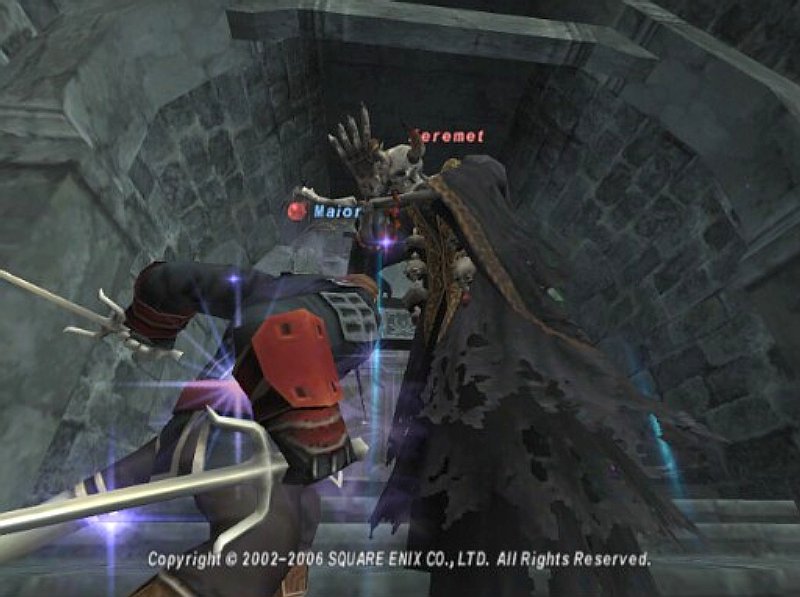
For 4-3, you have to kill Keremet, a Corse NM who holds a key you will need. There are two hallways leading up to Keremet's area. Lined along the walls of these hallways are various bones. These bones do not aggro, but will join to fight Keremet when you go to attack him. Thus, it is best to kill them all (24 in both hallways) before you take on Keremet. Now, the bones are exceptionally weak, so you can clear them really easily.
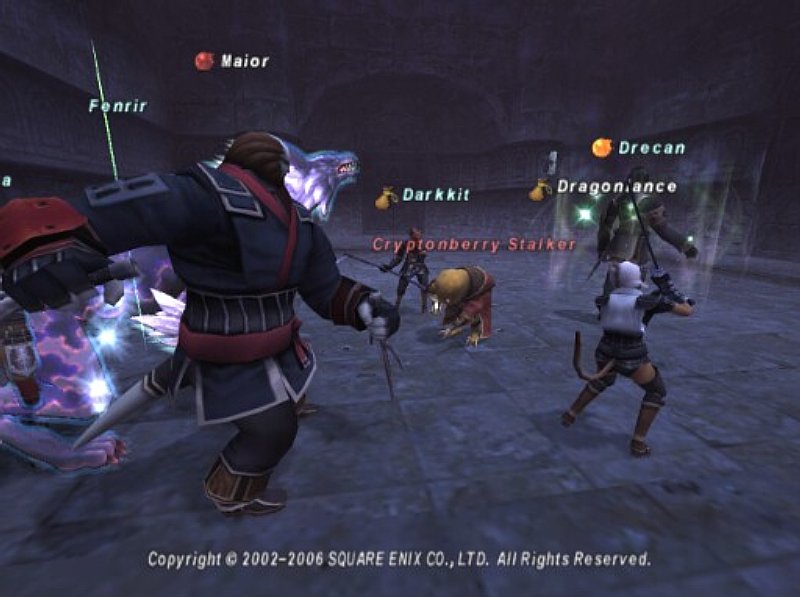
After this, we pulled Keremet back to the hallways (away from the Taurs) to kill him. Keremet is a Corse NM, which means he can charm people and cause them to attack their teammates. He first charmed Cyc, who promptly started nuking us. After Cyc was silenced and slept, he then charmed me. For some reason, I had it in for Dragonlance, as I started slicing through him. They actually weren't able to sleep me, but a bind managed to stick and I was able to regain control before killing Dragonlance. We actually had to have the two SMNs two hour to bring him down to near death, and then I two houred (exploded) and finished him off. Never let anyone tell you that the NIN 2 hour is useless :-)
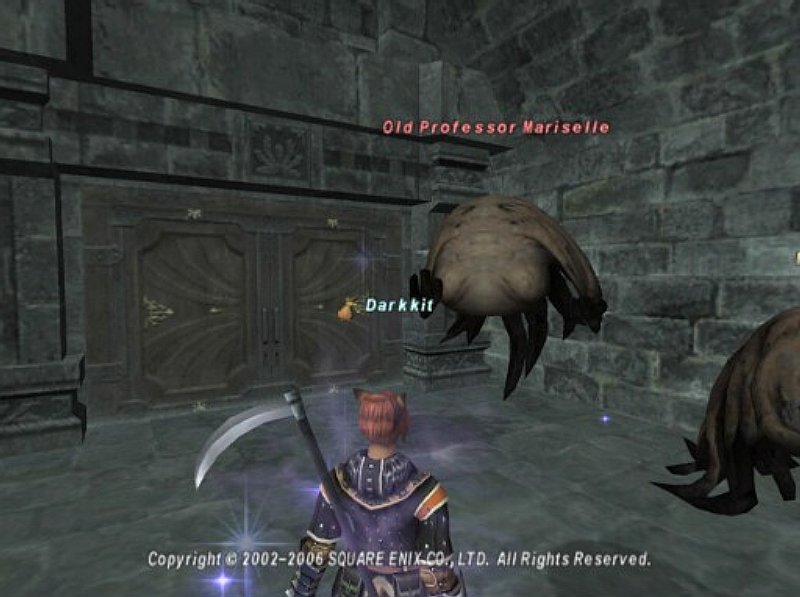
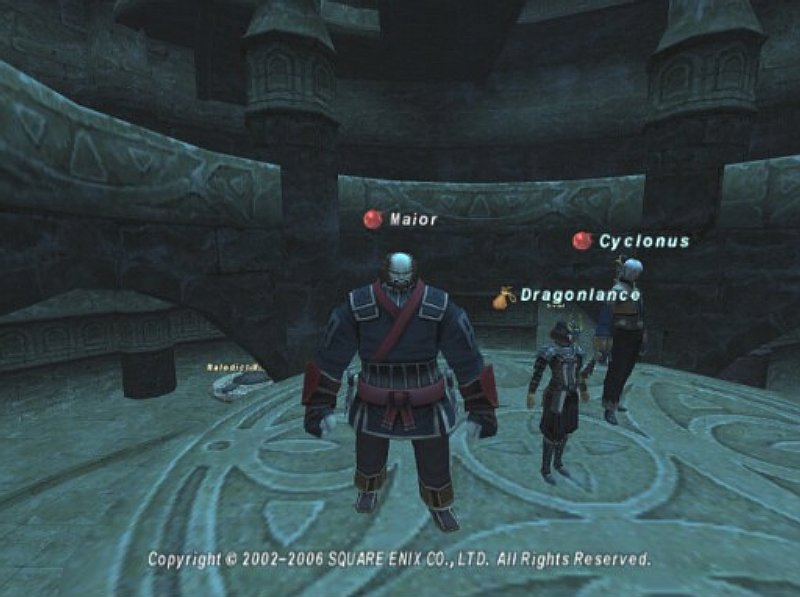
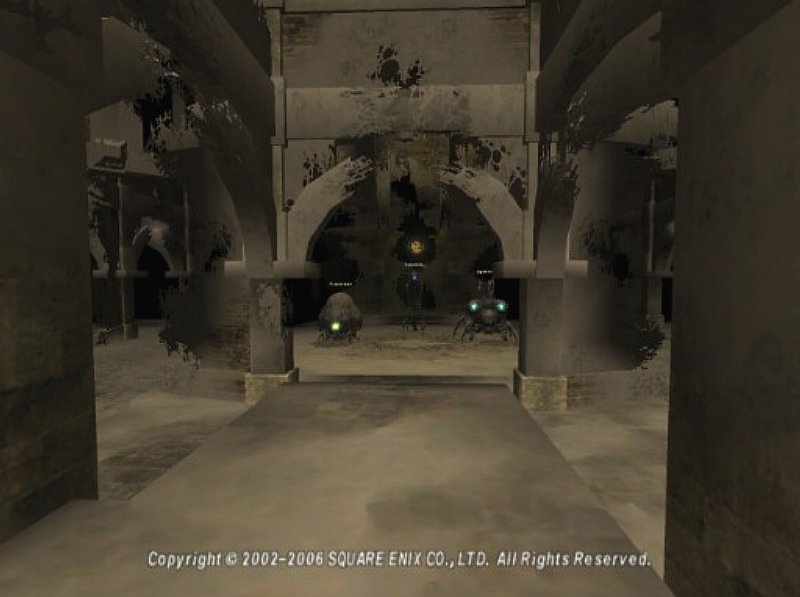
After Keremet, we had both keys and were ready to fight Old Professor Mariselle. The professor is a ghost NM that is spawned inside of one of 5 rooms containing Fomors. Now, we were supposed to have reduced our Fomor hate, but apparently Drecan hadn't gotten his down to level 1. What happened was, we went in to "test" if we had hate. I walked up to a Fomor Monk, walked around him, and no aggro. I then /clapped at him, and the little bugger drew his weapon.
At this point I'm thinking.. "WTF?! I've never seen anything aggro and /emote before!" My whole world crashed in around me, and I began to regret telling everyone that /emote aggroing mobs were a myth!
Then the Fomor walked right past me and started punching Drecan. So it wasn't my /emote that aggroed it, but Drecan's Fomor hate. *PHEW!* The /emote aggro mob myth is still just a myth :-)
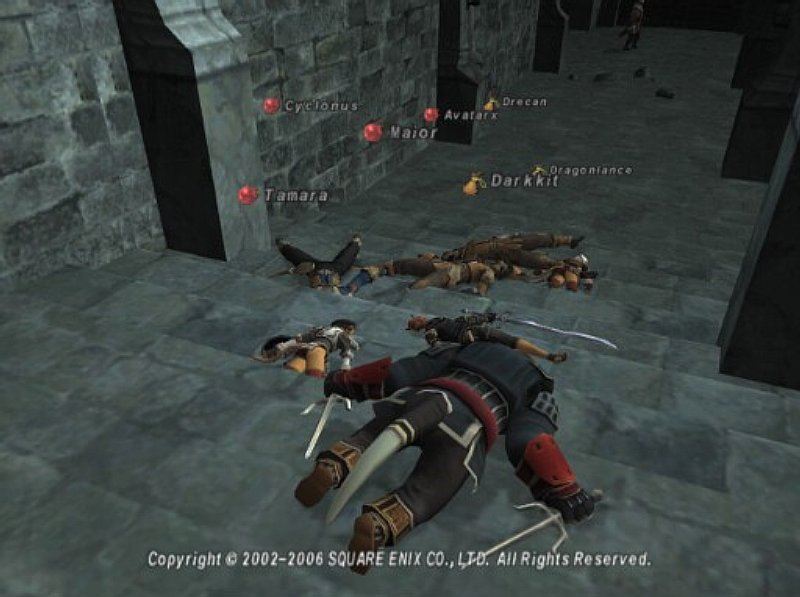
Anyway, the whole room came with the MNK and we wiped. We did manage to kill the original MNK before we all died... but.. whatever...
After that wipe you'd think we'd be much more careful. We raised everyone, then proceeded to systematically clear the room of Fomors so we could safely pop the NM. Unfortunately, during the fight with the last Fomor in the room, Darkkit spawned the NM and the entire gang slaughtered us. Wipe #2 of the night, not 15 minutes after the first :-)
We raised again, and this time did a series of sacrificial pulls (someone pulls the NM, and lets the Fomors kill them). Finally we got The Nutty Professor and began our fight with him.
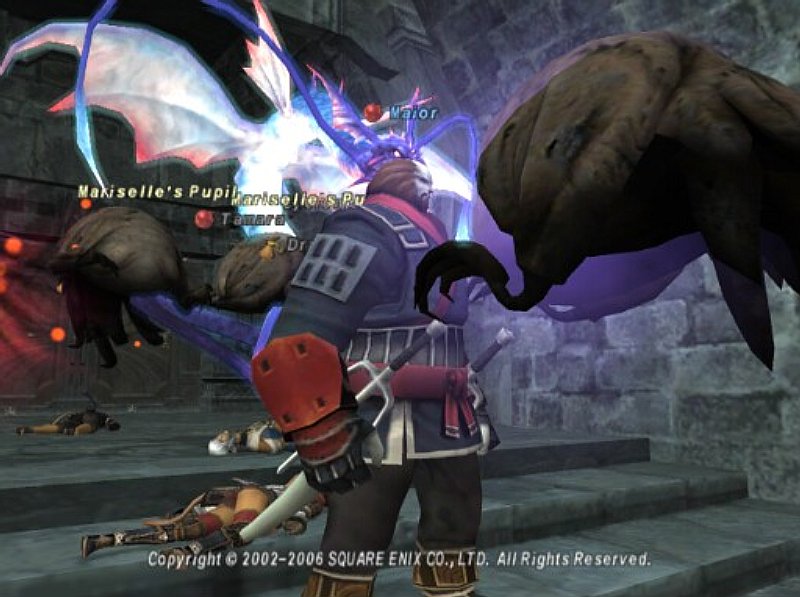
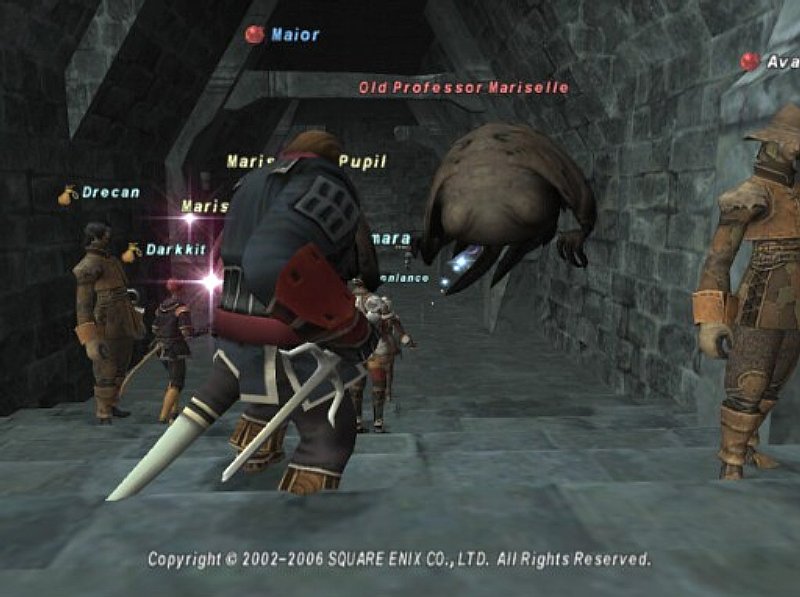
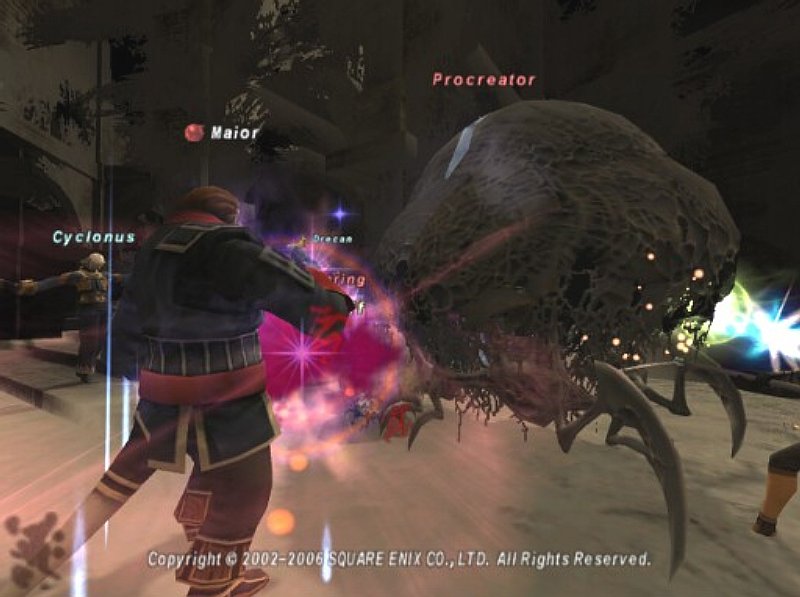
Now, Old Professor Mariselle is one of the wackiest fights you will ever have in this game. He is accompanied by two pupils, which are pretty weak, but which will respawn if killed (e.g., don't waste time on them, focus on the Professor). The Professor and his pupils are all ghost NMs, which mean they have all the standard ghost moves. So Holy Water was critical to have. I had actually completely forgotten about this, but luckily had brought a stack along anyway.
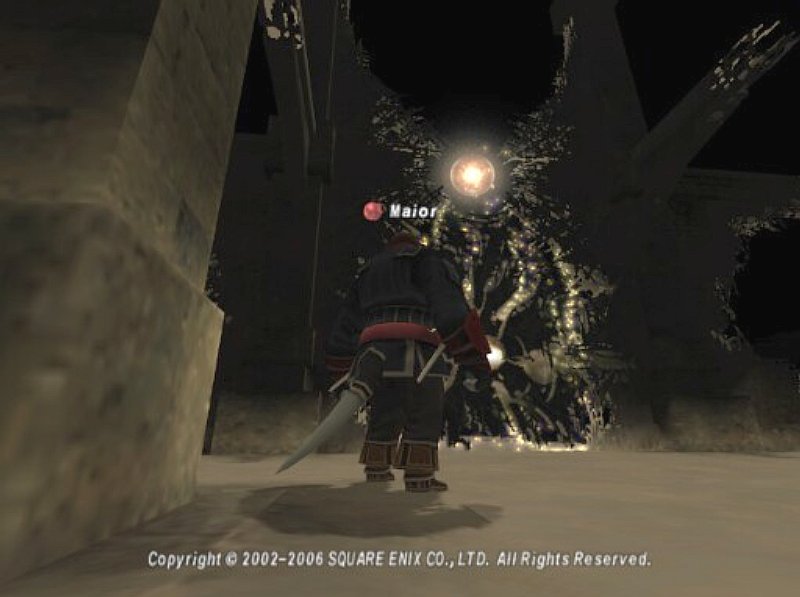
The one thing that makes this Professor so nutty is that he has this crazy warp move that he does that warps him and his pupils into random places back inside the room. So, we'd be fighting him outside when suddenly he and his students would disappear. When this first happened everyone was like "WTF?". Dragonlance actually thought I had killed him and told me "Nice one". After maybe half of a minute or so, the Professor and his pupils come rushing back to your group ready to fight some more.
Now, this warp move didn't ever cure him, so it really was just an oddity in the battle more than anything else. The battle itself was looooong, over 20 minutes long, but it was the craziest shit I've ever seen. We actually fought him for so long that the 2 hours we had from Keremet were ready to be used again and Avatarx Astral Flowed Mariselle's ass to kingdom come.
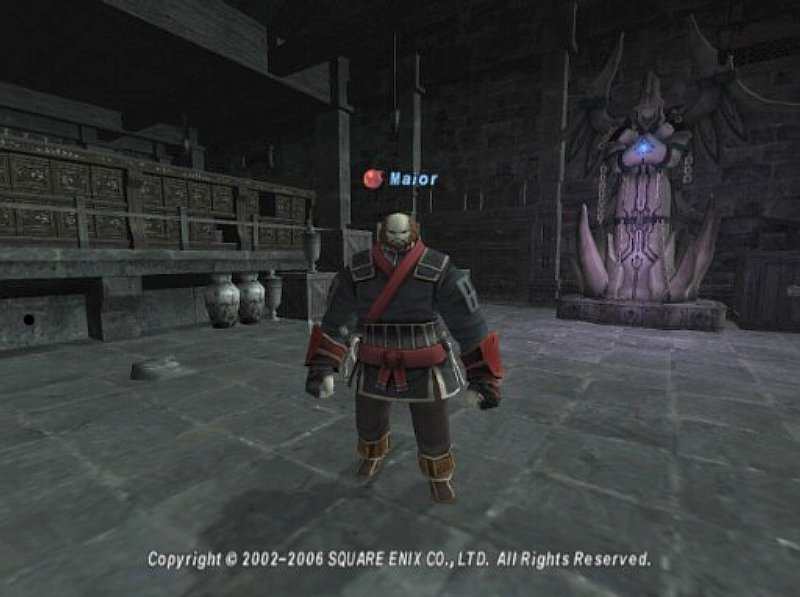
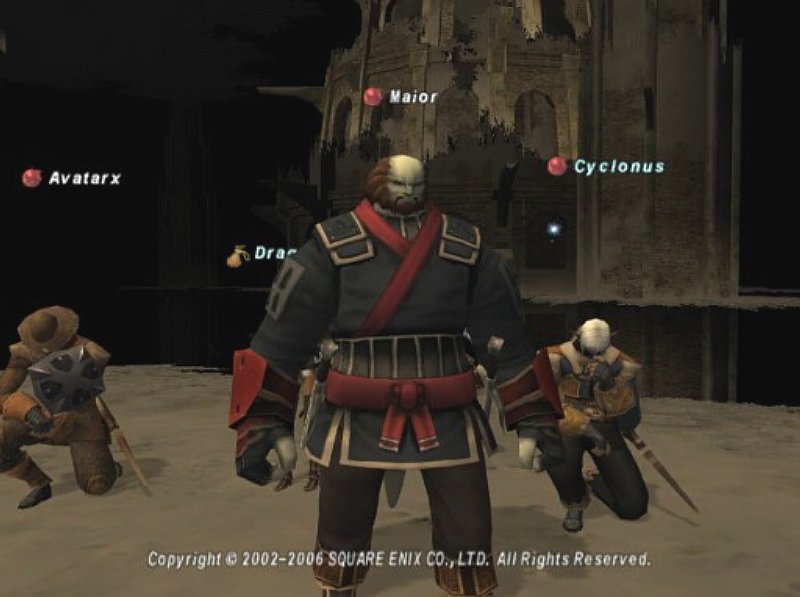
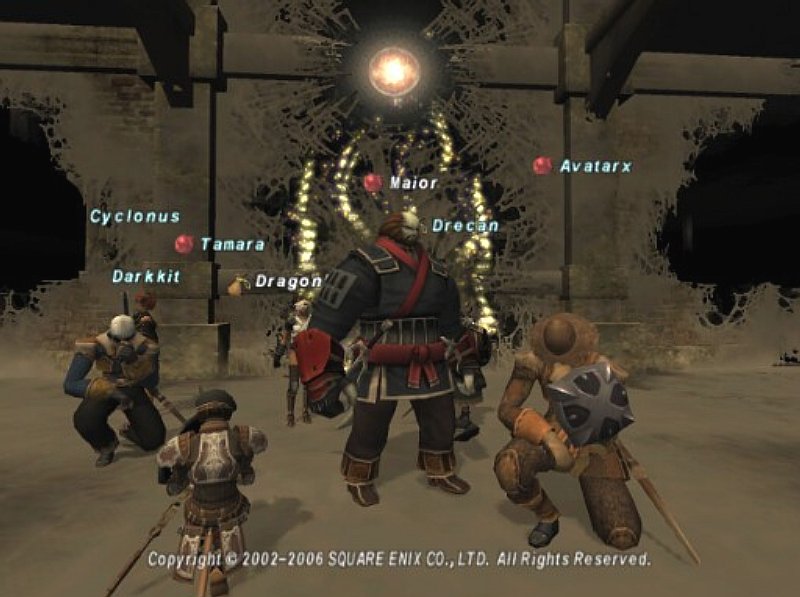
FINALLY, after it was all said and done, we managed to beat the mission and get a great photo op in front of the statue of Promathia. Here is another shot of the statue. And here are some paintings found in the same room.
All told, even with the fuck-ups, we managed to do the whole thing in around 3 hours. Considering everyone else says this takes 4-5 hours, I think we did very well :-)
Old Dirty Bastard: 2006 Jul 11 (Tue), 19:13
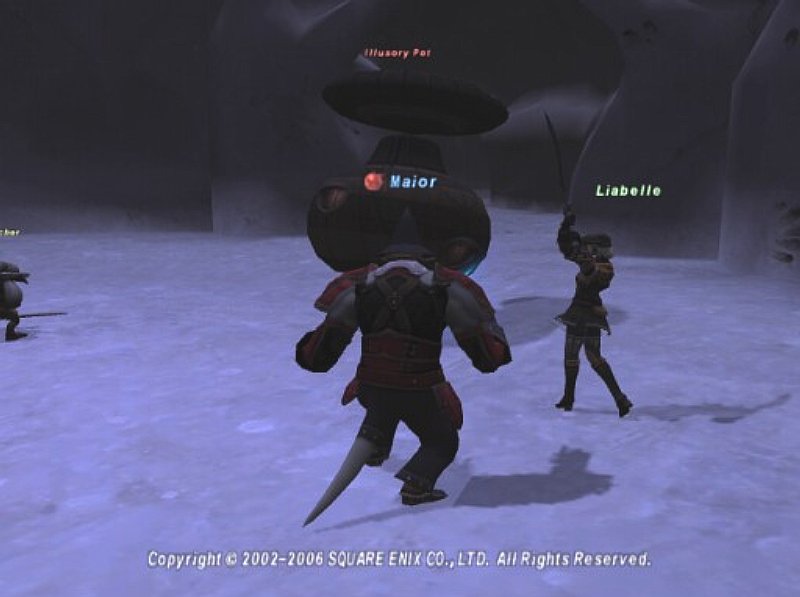
Started out doing the advanced job selection quest for my NPC. I had already helped Trix with this a while ago, but this time I fought the Illusory Pot for myself.
Afterwards, I went and levelled Liabelle in Toraimarai Canal. I was also testing the waters, to see how nasty it may be for Cyc's AF quest here.
Later on, I went and helped some others through CoP 4-3. Since we had the keys, we didn't need to fight Keremet or farm Fomors any more.
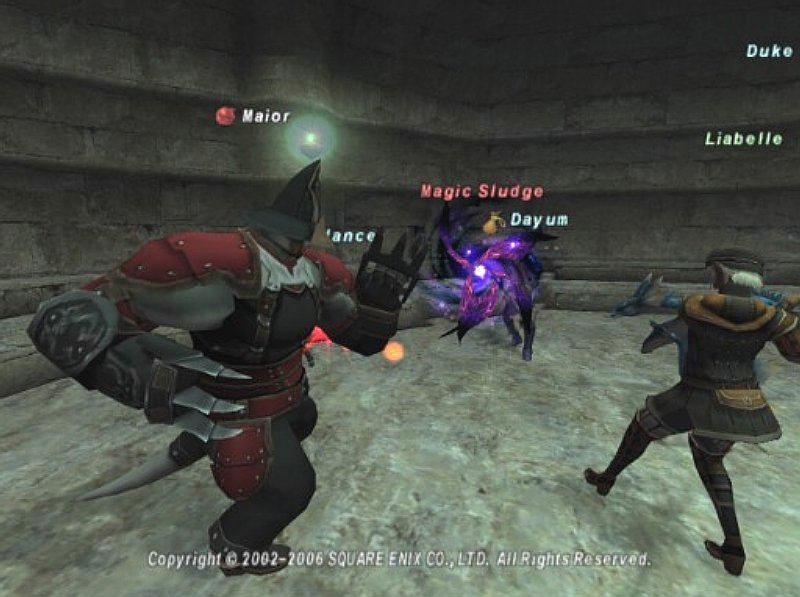
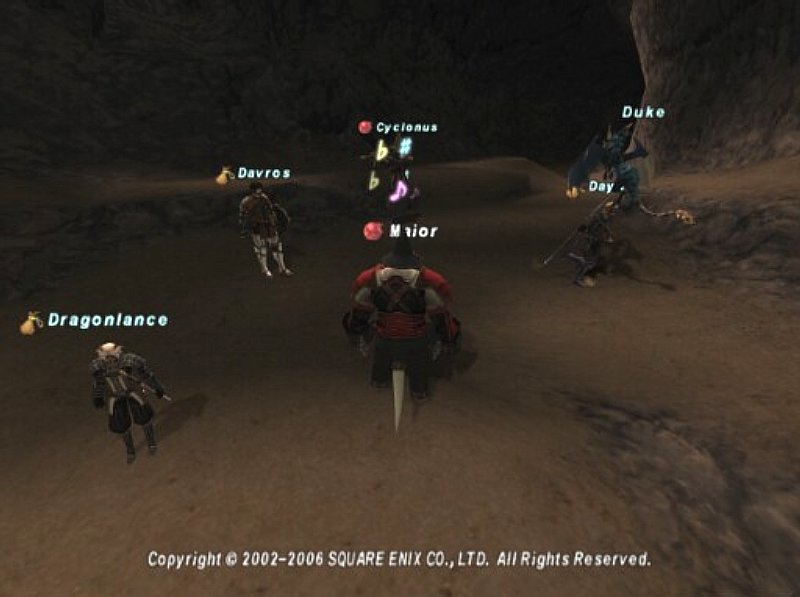
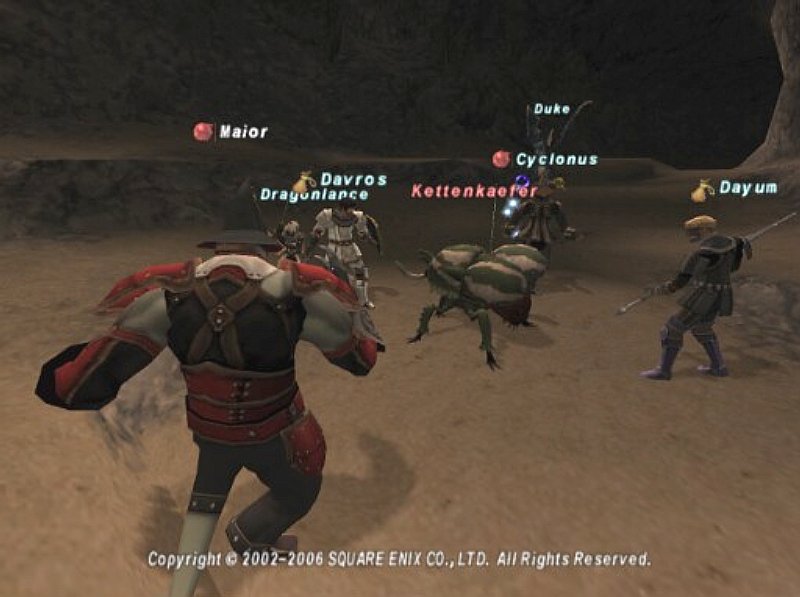
Soon, it was back to Toraimarai to pop Cyc's NM and get him his BLM AF hat. We cleared the area, rested, and then popped the Magic Sludge... which turned out not to be a slime-type mob, much to our surprise. We killed it easily enough, then headed out to Kuftal Tunnel to kill the WSNM for Dragonlance. The mob was a beetle known as Kettenkaefer, and he wasn't too difficult for us to kill.
Promyvion Skidmark: 2006 Jul 12 (Wed), 17:14
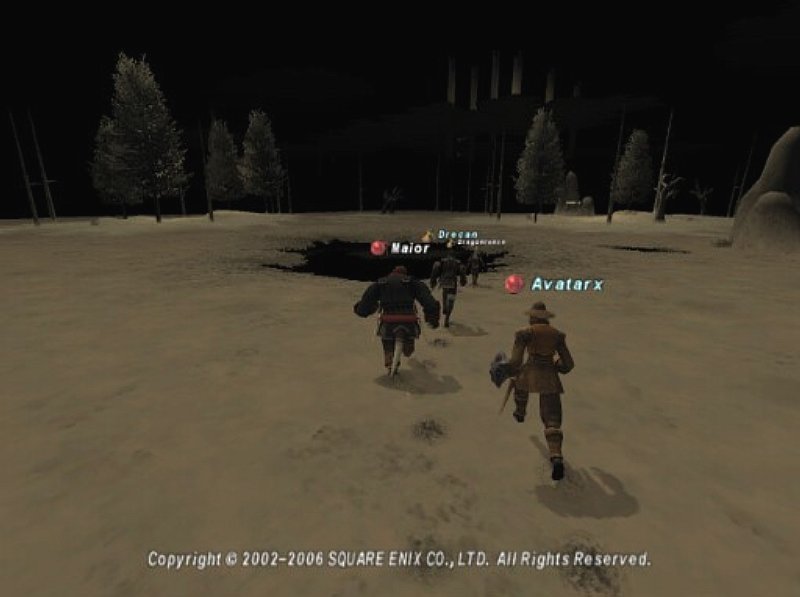
Last night we did Promy-Vaz in our CoP static. But first, we had to kill Nunyununi (not to be confused with Numa Numa). We cleared him, and were on our way. Inside Pso'Xja, we obviously had an elevator we had to ride. However, we did have to avoid nasty mobs on the trip down.
Welcome to Promyvion-Vahzl.
The whole time I was just thinking how much I wanted chocolate milk, or maybe some hot cocoa.
Ahem... anyway... the zone is brown. It's very brown. The objects in the zone closely resemble the stuff you find in the surrounding region (which shouldn't be surprising, this is nothing new). And the Promyvion is very similar to the other ones, just harder. This time around, there's 5 floors. There's also boss battles on the last 3 floors. And the weakest you'll find anything is DC.
The Memory Receptacles are back, but they spam strays more often (and the strays can be most of the Promy mobs including weepers and seethers). They also spam empty seed a lot more, but aren't too terribly difficult.
On the second floor, we rested and prepared for a nasty little region known as "The Gauntlet". See, on floor 2 of Promy-Vaz there is this tight bottlekneck of nasty mobs and complicated structures. You can't avoid it, and it can easily wipe even the best alliance. So you have to take it slow, and move carefully though it.
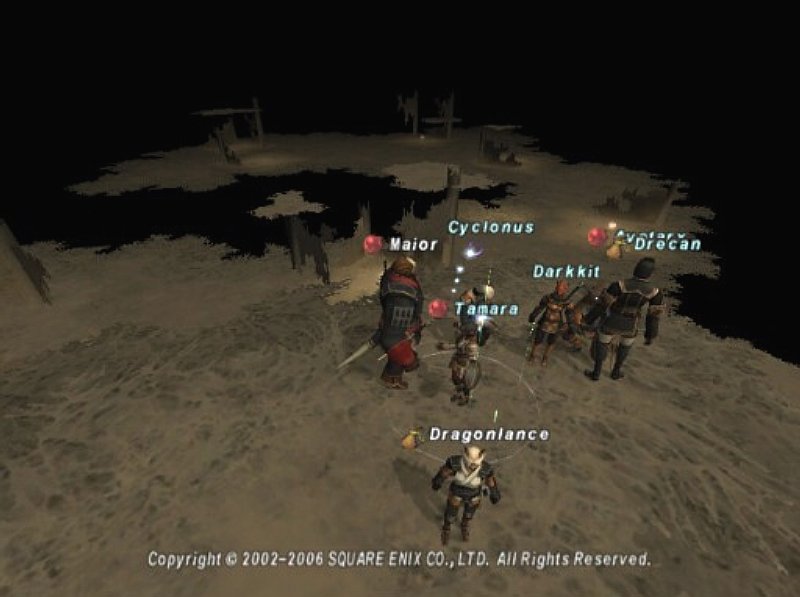
Of course, we made it through it, and were soon at the first Memory Flux. We rested, and spawned Propagator, which was basically the Promy-Dem boss. We did not use any anima, and killed him easily. After the battle, we went to the next MR, zoned, and rested.
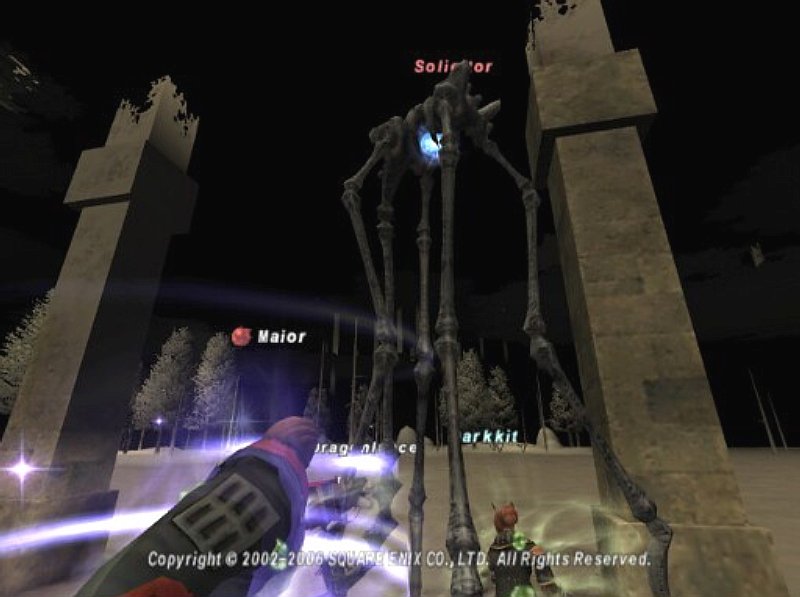
We then worked our way to the next Memory Flux where we spawned Solicitor, who was basically the Promy-Mea boss. Now, the Mea boss is undoubtedly the most difficult of all the 3 basic Promy bosses. In Promy-Vaz, it is no different. This mob was nasty! We had to use two sets of anima, use up two different 2-hour attacks, and we still had 3 people die before we killed him.
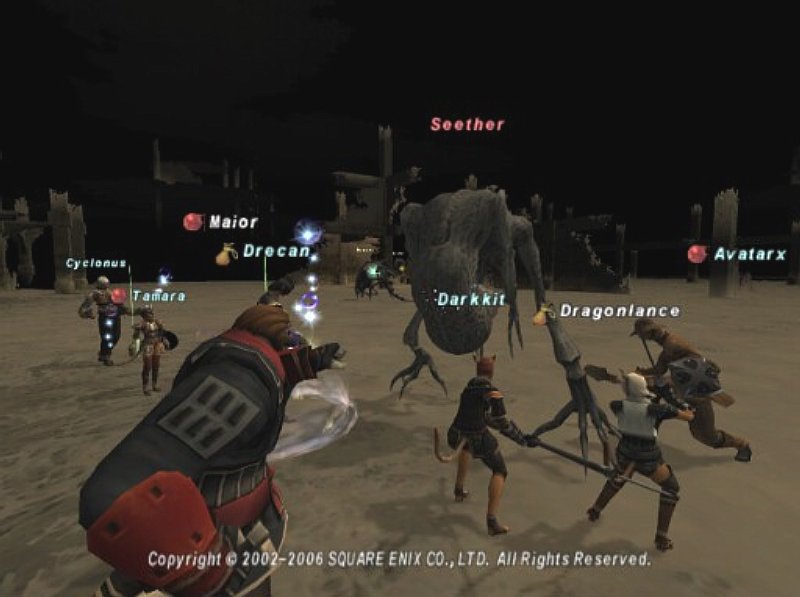
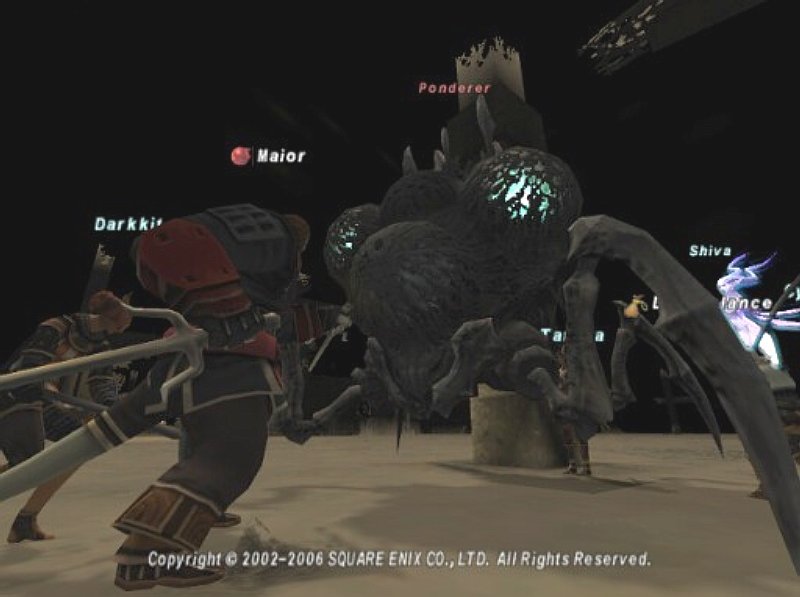
After killing him and raising, we moved on to the next Memory Flux. On our way there, we actually had a near fatal aggro from a Seether, but we still managed to make it to fight the Ponderer, or the Promy-Holla type boss.
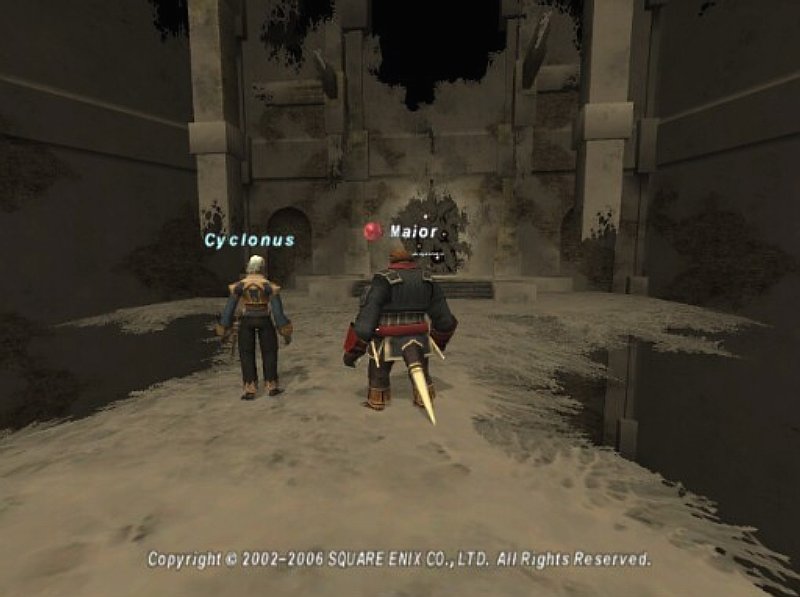
The last boss down, we worked our way to the Promy-Vaz spire. There half the team rested, while the other half warped back to jeuno to pick up more anima (so we would, once again, have a full set). The one nice thing about Promy-Vaz is, once you make it to the top, you don't have to ascend again. You can just warp back to the top floor whenever you want.
As for the final boss battle, it actually consisted of fighting all three bosses again. Basically, you start fighting one mob, then, as that mob nears death, another one starts attacking. Rinse, and repeat through all three mobs. Simple, no?
No, it's not simple. In fact, it's freaking hard. So hard in fact, that during the whole battle I was only able to snap off one screenshot.
At any rate, we won (once again, my NIN 2 hour dealt the finishing blow) and moved on to the next CoP mission :-)
Whatever, whenever: 2006 Jul 26 (Wed), 13:32
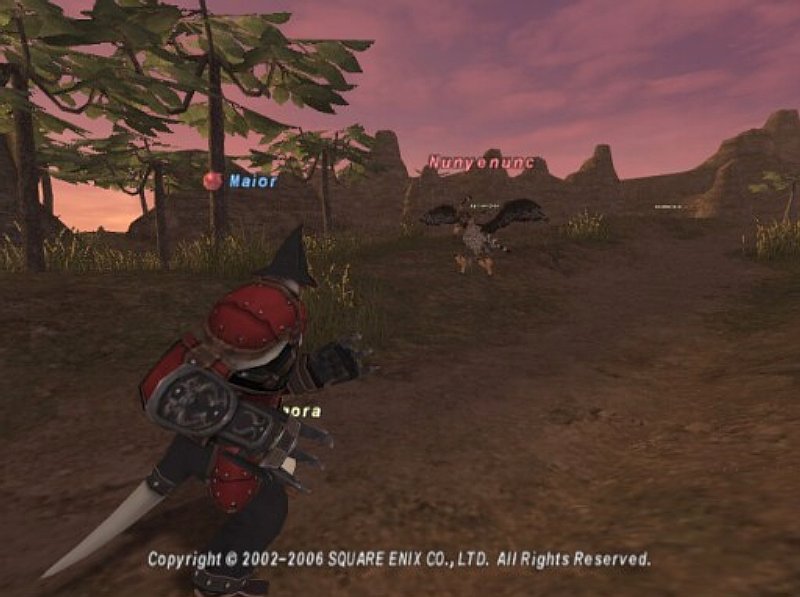
Man I've been stumbling upon a lot of silly NMs lately. Ran into Nunyenunc on my way to Giddeus as part of an NPC quest.
We continued our CoP static. This time we are on 5-3, the three forks. Specifically, we did Tenzen's path, which involved some running around in Pso'Xja. Unfortunately, I did something bonehead and came as a NIN/MNK, which meant I wasn't the best tank in the world. So I had to run back (while everyone waited) and change.
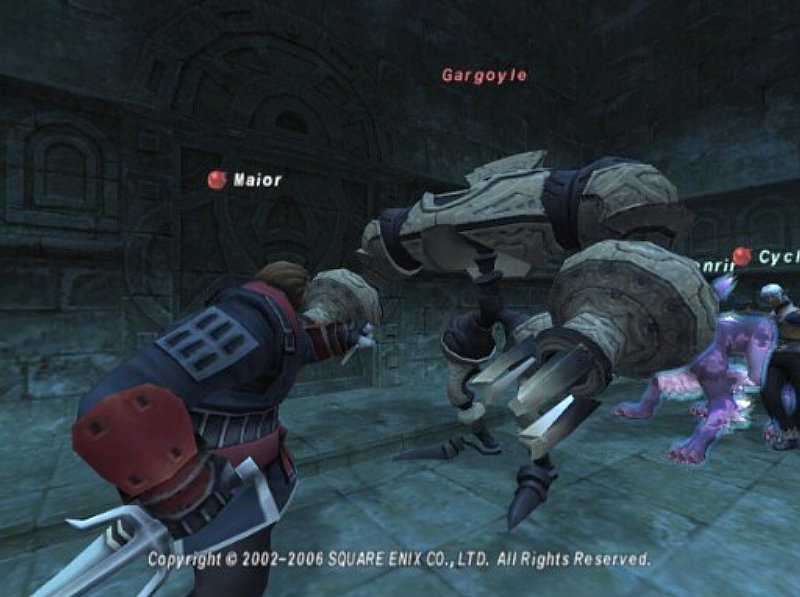
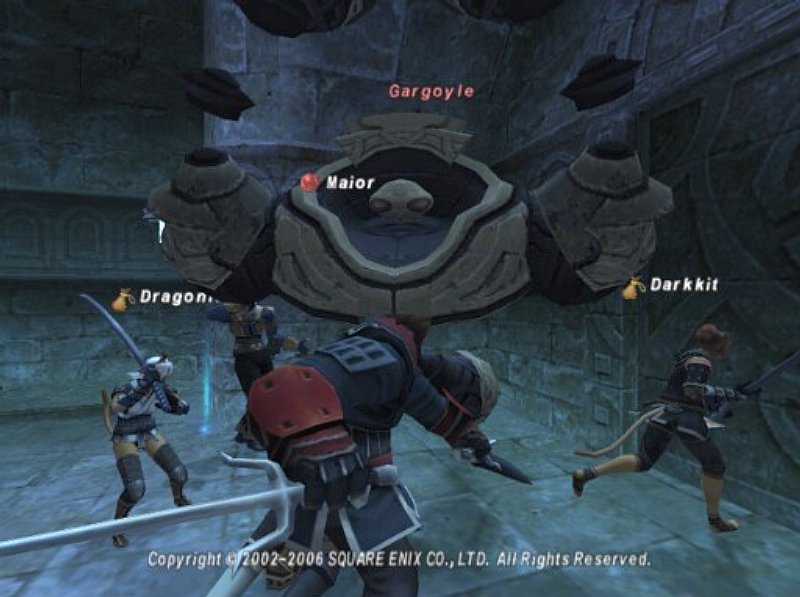
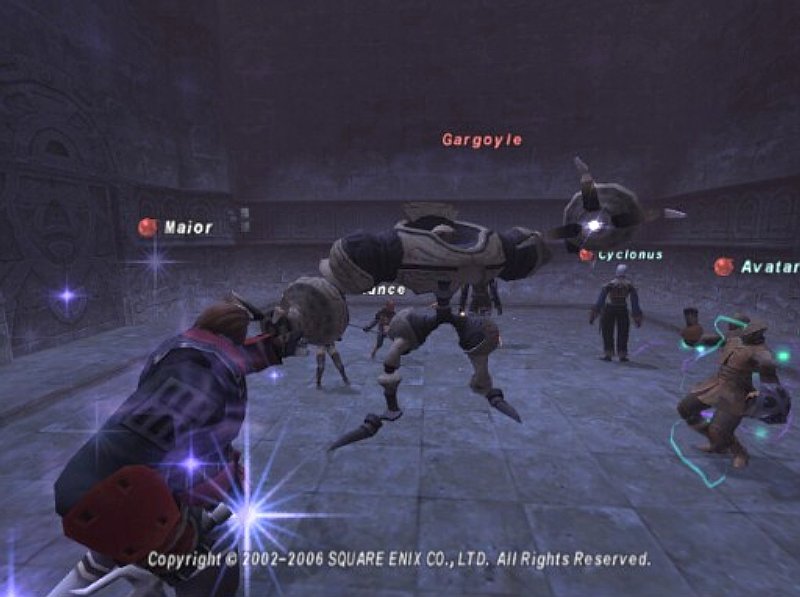
In Tenzen's path, you have this circular area with 4 clusters of rooms. In each room is a gate that you must pass through to get to the next room. These gates are boobytrapped and most of the time will spawn Gargoyles when you click on them. The Gargoyles then must be defeated before you can move on past them. Each cluster has 4 rooms that you must do this in, thus you will probably have to fight 16 Gargoyles.
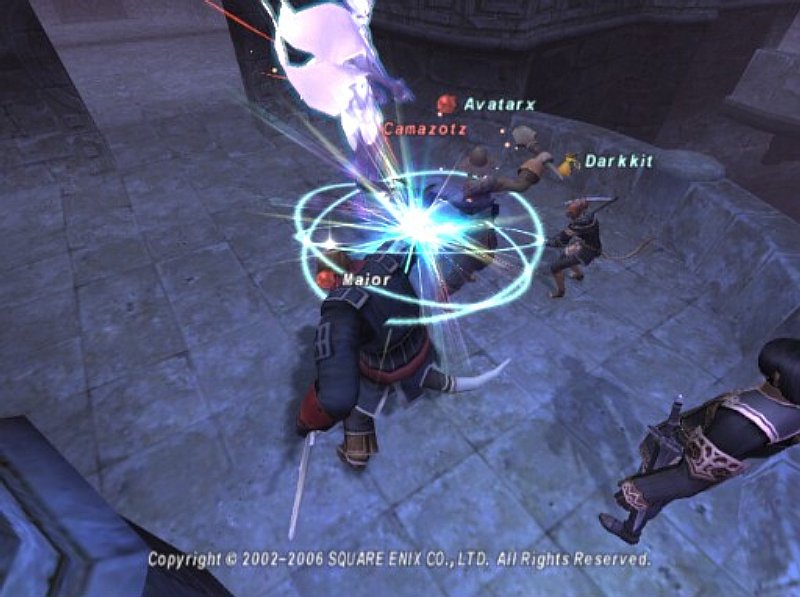
This is made even more complicated by the fact that many of these rooms are filled with aggro mobs, like this Cryptonberry Cutter and these Camazotz bats. Additionally, there are magic-aggro mobs like this Magic Millstone which can, and will, aggro through doors. There are also Snolls, one of which wiped us and slowed us down while we waited to heal.
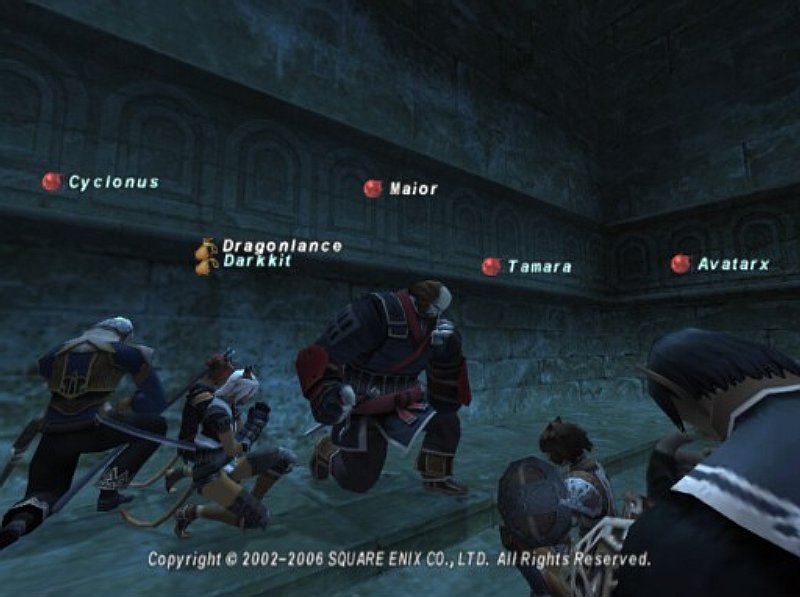
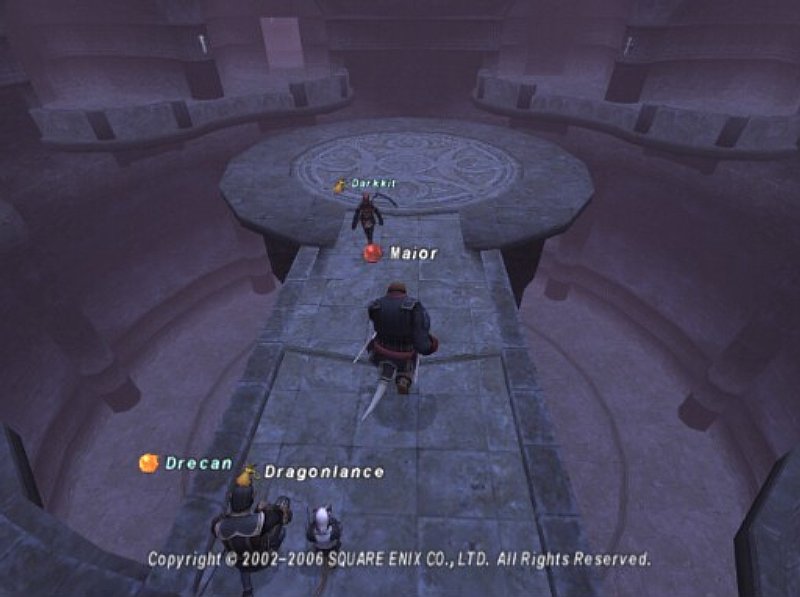
Our final goal in the area was to make it to the elevator at the center of the zone (you can see it in the background here.) The journey was long and hard and because the doors did not stay open long, and the aggro mobs respawned quickly, we had to speed kill the Gargoyles and move on as fast as possible.
Finally, we made it to the elevator which we rode down for our final cutscene. Unfortunately, Tamara hadn't completed all of her pre-requisites for this mission, and was denied the cutscene. She was actually pretty pissed at it (as we had spent 2 hours or so descending) and logged angrily.
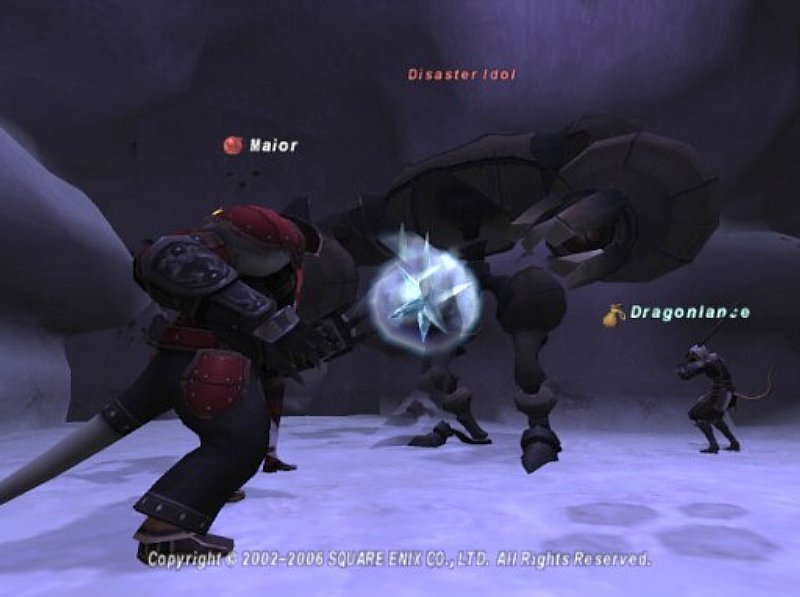
After Pso'Xja, we headed back for our next cutscenes in Jeuno, and finished up the night by killing the final mob for Tenzen's path, the Disaster Idol.
Dragostea din Tei: 2006 Jul 26 (Wed), 13:50
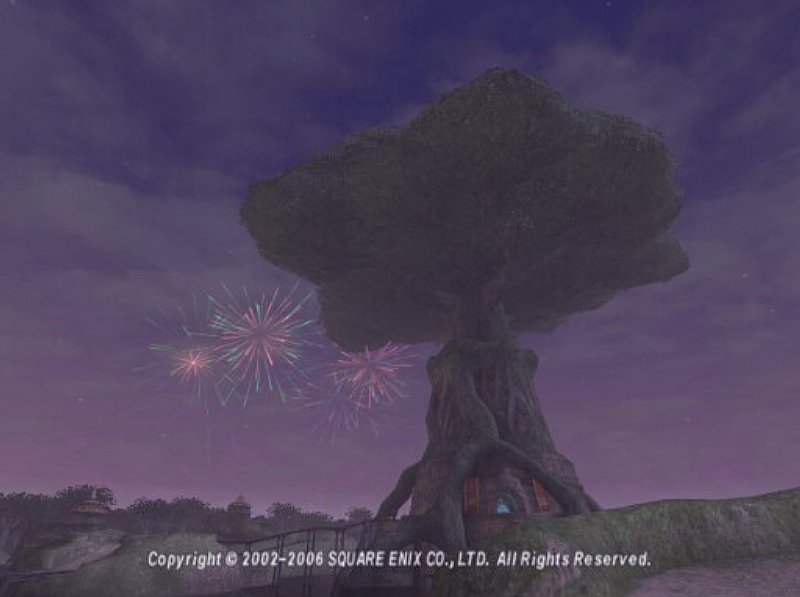
We continued our CoP static, this time doing Louverance's path in 5-3. This involved some travel including a trip to Purgonorgo Isle. The 2006 Sunbreeze Festival was also going on in Windy, and this was the first time I saw fireworks on the 360.
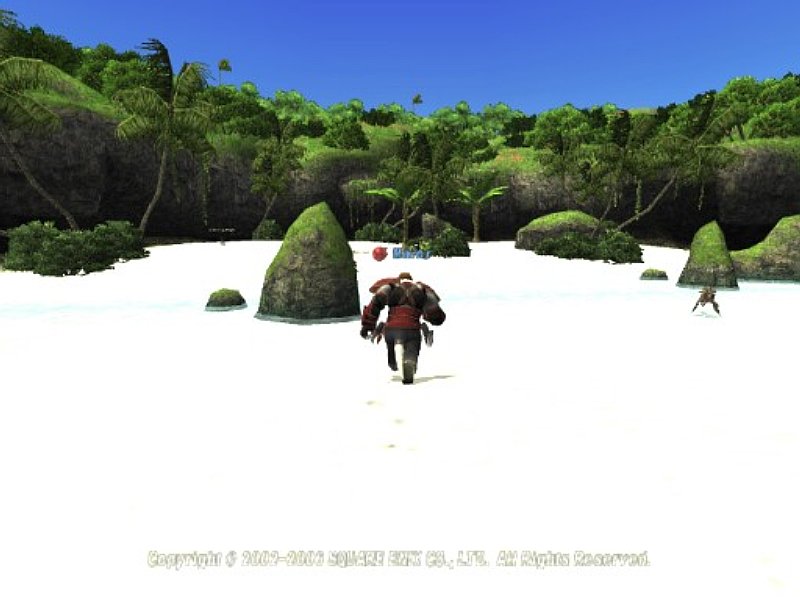
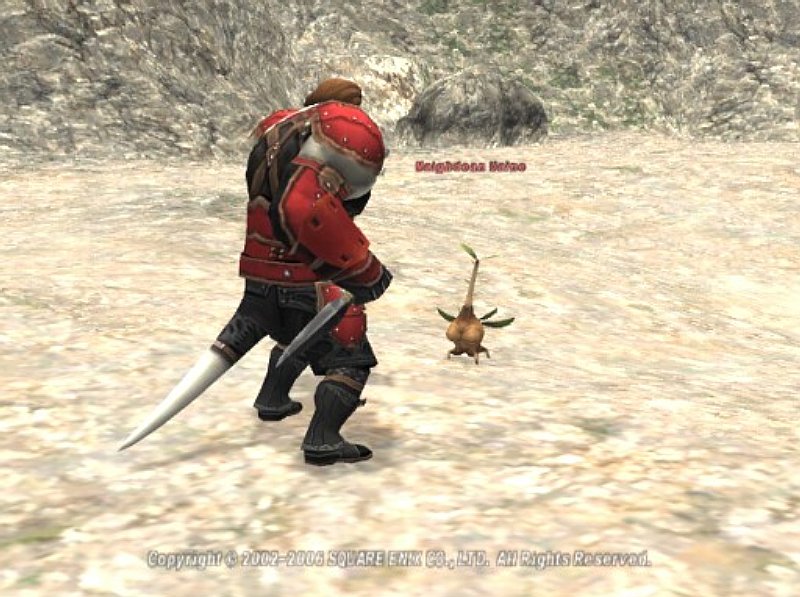
On my way to Movalpolos, I encountered another NM, Maighdean Uaine, who dropped a pretty cool earring that I will have to use in 20-capped BCNMs and events.
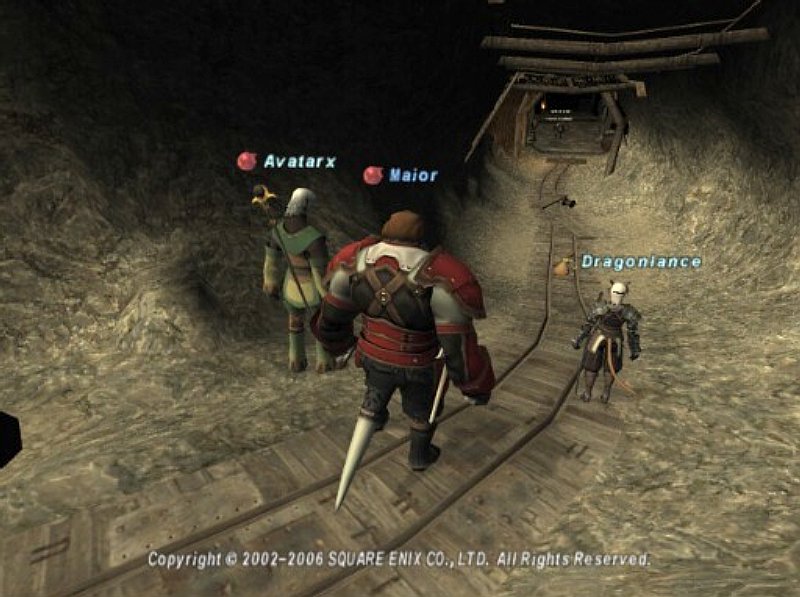
I managed to make it to Movalpolos well before everyone else, so I did have to do some waiting. Soon Dragonlance and Avatarx joined me (they've done their OP warps).
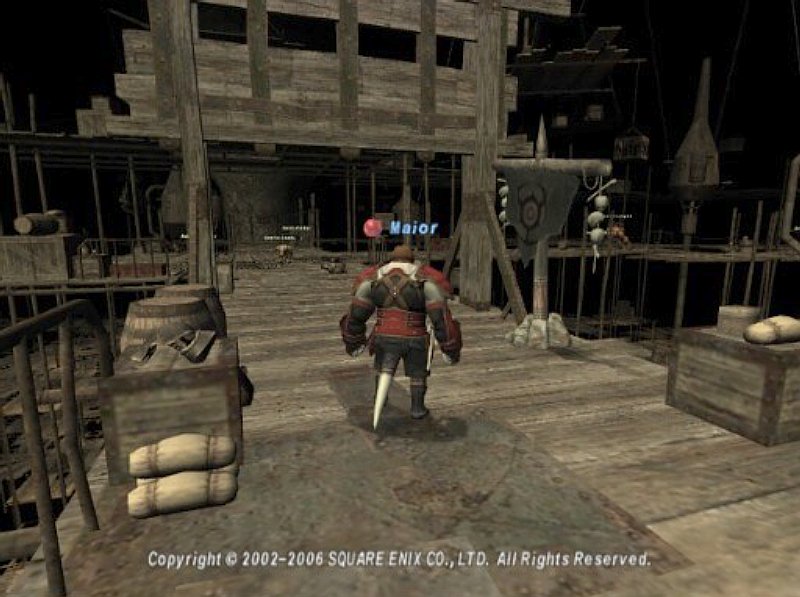
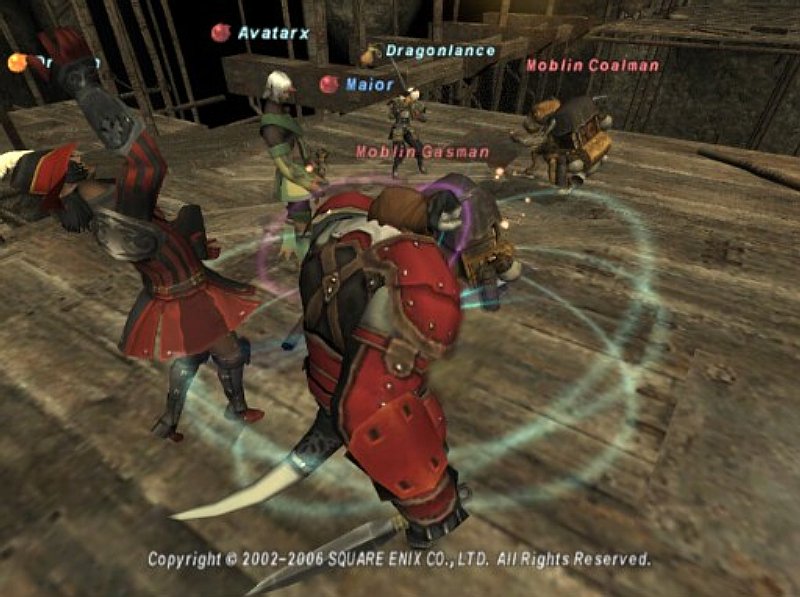
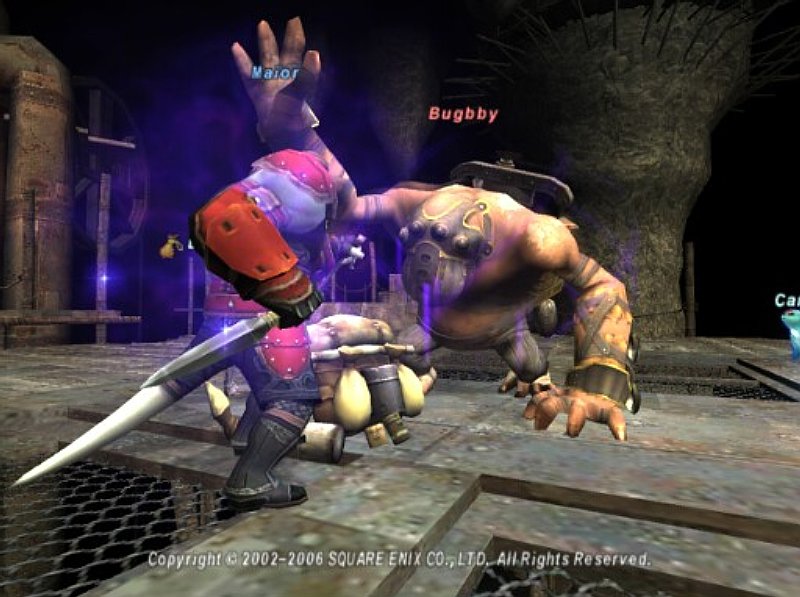
Louverance's path involves heading deep into Newton Movalpolos and entering the Mine Shaft #2716 where you fight a BCNM involving 4 moblins and 1 bugbear. The 4 moblins are WHM, BLM, RDM, and THF, and the bugbear is a odd MNK and WAR combo. The moblins do not 2 hour (thank goodness), but the bugbear can (and will) use both MNK and WAR 2 hours. They are all highly resistant to sleep, and the BCNM can only be fought with 6 people... which means that you have 6 people fighting 5 angry mobs and you have to have several people kite. Joy. We get to the entrance to the BCNM, and have to clear a few mobs before we can zone (as several people are around 60 and will get aggro). We then entered the BCNM.
Our basic plan was to have me go in and tank the WHM and RDM moblins at the start. Meanwhile, Avatarx (SMN) would drag the bugbear away from the battle and try to kite him. At the same time, Drecan (RDM) would take the THF moblin and kite him away from the group. While all this is going on, Dragonlance (SAM) and Cyclonus (BLM) are to take the BLM moblin off to a corner, and kill him as quickly as possible (Dragonlance 2 hours, Cyc nukes the crap outta it).
After the BLM moblin was down, Cyc and Dragonlance would join me on my WHM and RDM. Together, we would kill the WHM, followed by the RDM. Bear in mind that, all this time Avatarx and Drecan are kiting their mobs.
After the RDM is down, Drecan brings us the THF, and the four of us kill it. Once the THF is down, Avatarx brings us the Bugbby and we all finish him off.
So, to recap, we did BLM->WHM->RDM->THF->Bugbear.
All told, the strategy went very well. We won and beat the server record (which I know resets often so that doesn't mean much). The battle itself, however, was absolutely nuts. Thankfully, everyone kept a cool head and we were able to stick to the plan.
|
|